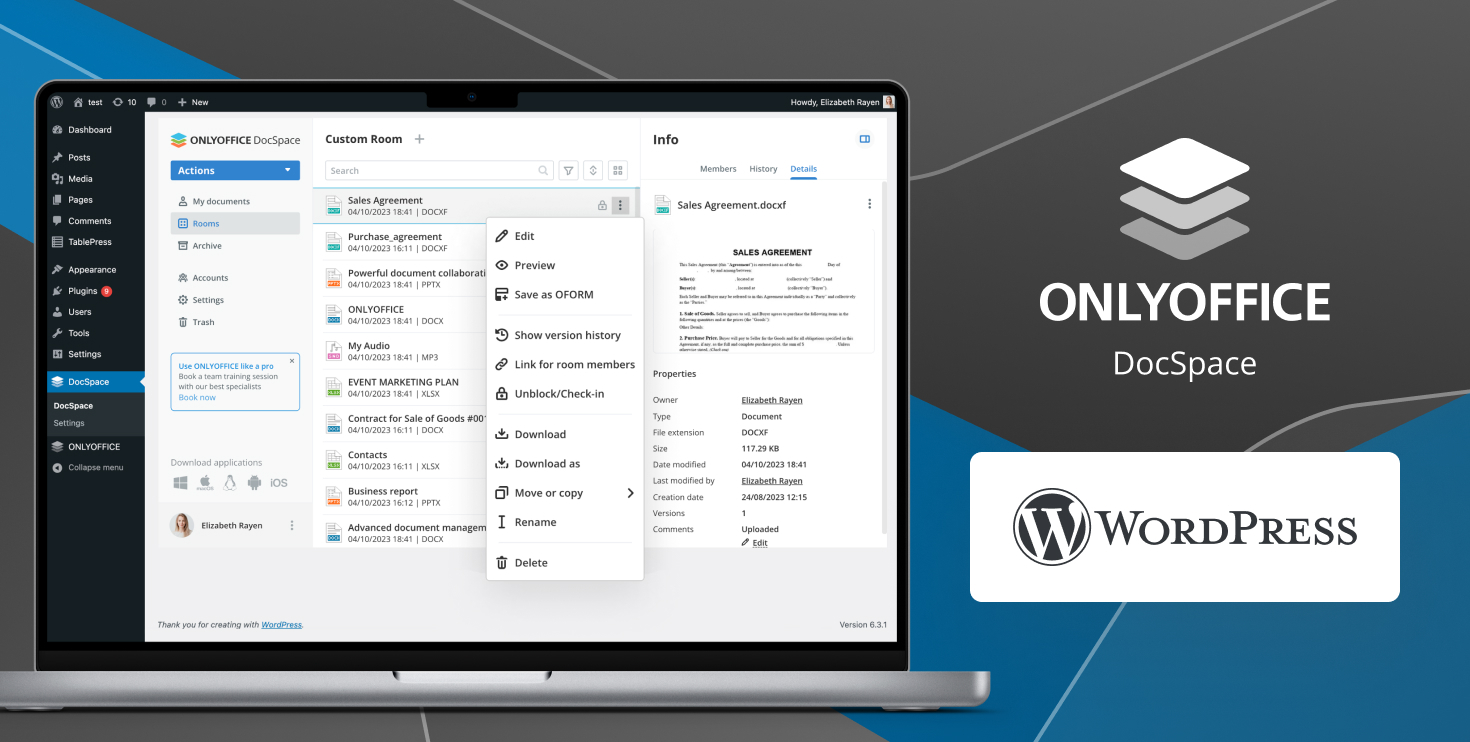
Embed documents and folders into your WordPress website using the ONLYOFFICE DocSpace connector
With the newest integration app, you can easily connect ONLYOFFICE DocSpace with your WordPress platform making it possible to embed documents and entire rooms into your website allowing your visitors to view office files without having to download them. Read this article to learn all the details.

Embed DocSpace rooms or files to your WordPress page
The ONLYOFFICE DocSpace and WordPress integration enables you to add a DocSpace room or an office file to your WordPress page when creating a post. When embedded, a DocSpace room can be accessed by visitors of your website who will be able to view and interact with office documents right on the web page instead of downloading the attached files.
This is what an embedded DocSpace room looks like when added to a WordPress page:

When it comes to embedded office documents, visitors of your website will be able to open them for viewing in their web browsers without having to install any additional office software. Besides, they will have an opportunity to download, copy and print the embedded documents if these actions aren’t restricted.
For example, this is an embedded PowerPoint presentation that anyone can view and download when visiting your WordPress page:

The biggest advantage of the ONLYOFFICE DocSpace and WordPress integration is that your visitors don’t need to have a DocSpace account to be able to work with embedded rooms and files.
Manage office files with other WordPress editors and admins
Another useful feature of the ONLYOFFICE DocSpace and WordPress integration is the ability to create, edit, store and share office files and even co-edit them in real time with other WordPress admins and editors using the collaborative tools provided by the ONLYOFFICE editors:
- Two co-editing modes (Fast and Strict);
- Version history;
- Track Changes;
- Comments;
- Real-time communication;
- User mentions.
Watch this video to learn more about ONLYOFFICE DocSpace and how this room-based platform makes document collaboration easier:
What you need to get started
To get started with the integration, you need to have an ONLYOFFICE DocSpace instance. You can either create one in the cloud or deploy it on your local Windows or Linux server:
START IN THE CLOUD DEPLOY ON-PREMISES
The ONLYOFFICE DocSpace integration app is compatible with WordPress v6.2 or higher and is officially available in the WordPress Plugin Directory. Alternatively, you can get its latest version from GitHub.
How to install and configure the plugin
The ONLYOFFICE DocSpace plugin can be easily installed as any other WordPress plugin.
First of all, you need to log into your WordPress platform as an administrator and add the ONLYOFFICE DocSpace plugin via the Dashboard on the left. To do so, find the Plugins tab and click the Add New button.
After that, click the Upload Plugin button. The page will expand, and you will see a new button, Choose File. After pressing it, you will have to find the zipped plugin file on your local computer and click Install Now.

After the installation is complete, click the Activate Plugin button. The newly installed plugin will appear in the list of all available WordPress plugins. Now you need to go to the plugin settings on the DocSpace tab on the left and specify the following parameters:
- DocSpace Service Address;
- Login;
- Password.
When you click the Save button, a user with the Room admin role will be created in ONLYOFFICE DocSpace, with the same data as the current WordPress user. A public user (WordPress Viewer) will be also added to DocSpace with the View Only access permission.

How to export WordPress users to ONLYOFFICE DocSpace
To make the plugin work, you need to export users from WordPress to ONLYOFFICE DocSpace. To do this, click the Export Now button on the settings page. A page with a list of users will open. You will see all WordPress users with the upload_files setting. The standard roles are Super Admin, Administrator, Editor and Author.

To add a user from the list to ONLYOFFICE DocSpace, tick the corresponding checkbox, select the Invite to DocSpace option from the Bulk actions drop-down list and click Apply. The selected users will be added to your DocSpace.
On the same page, you can easily check whether a WordPress user has been added to DocSpace or not in the DocSpace User Status column:
- A green checkmark means that a WordPress user with the specified email has been added to DocSpace and their synchronization was successful;
- An empty value means that there is no WordPress user with the specified email in your DocSpace. You can invite them;
- An hourglass means that there is a WordPress user in your DocSpace with the specified email, but there was a synchronization problem. When logging into the DocSpace plugin for the first time, the user will have to provide their DocSpace login and password to complete synchronization.

How to use ONLYOFFICE DocSpace within WordPress
After the plugin is configured in the right manner, all the invited users can access the functionality of ONLYOFFICE DocSpace, including the ability to create rooms, invite other users and co-edit documents in DocSpace rooms together with others depending on their permission rights. To do so, you need to click the DocSpace button on the left-side panel.

Read this guide or watch this YouTube playlist to find out how to create DocSpace rooms, manage access permissions, co-edit documents in real time, customize user profiles and do more.
How to embed a DocSpace room or a file
To embed a DocSpace room or a file into your WordPress page, you need to add a new block in your post and select ONLYOFFICE DocSpace.

If you want to add a separate DocSpace room, click the Select room button, select the required room and press the Select button. In the right-side panel, you can specify the desired width and height parameters to be displayed on the WordPress page.

To add a file from one of the DocSpace rooms, you need to click the Select file button, choose the desired file from the room and press Save.

Access to the DocSpace rooms and files on the published WordPress pages is determined by the publicity status of the corresponding WordPress page:
- If the publicity status is public, the DocSpace rooms or files are available for viewing to all WordPress users who can access the content under a public user account (WordPress Viewer);
- If the publicity status is private, the DocSpace rooms or files are available in accordance with the existing DocSpace access permissions. Collaborative document editing is possible only if users have the necessary rights.
Note: when you add DocSpace rooms to WordPress pages:
- DocSpace left-side menu is not available;
- Navigation is possible within the added room only;
- If a user has the Room admin or Power user role, they can create new files.
Get the ONLYOFFICE DocSpace plugin for WordPress
Create rooms, store and manage files, invite other users for collaboration and embed documents and folders into your WordPress website using the ONLYOFFICE DocSpace plugin available in the official WordPress Plugin Directory:
Useful links
More information about ONLYOFFICE DocSpace
Get started with ONLYOFFICE DocSpace: cloud / on-premises
How to use DocSpace: detailed guide / YouTube tutorials
Get the ONLYOFFICE DocSpace plugin for WordPress: Plugin Directory / GitHub
ONLYOFFICE DocSpace v2.0: what’s new
How to embed a public DocSpace room into your website
How to integrate ONLYOFFICE DocSpace into a Single Page Application
Create your free ONLYOFFICE account
View, edit and collaborate on docs, sheets, slides, forms, and PDF files online.


